Drone Preflight Checklist: Safe Flight Prep
- spawnmedia
- 7 days ago
- 19 min read
Updated: 5 days ago
Taking Off Safely: Your Essential Drone Preflight Checklist
This concise drone preflight checklist covers eight essential steps for safe and successful flights. From battery checks to airspace regulations, this list helps both beginners and experienced pilots ensure their drone is ready for takeoff. Following this drone preflight checklist helps prevent accidents, protects your equipment, and ensures compliance with regulations. A thorough check maximizes your chances of a successful mission, whether it's capturing stunning aerial photography or conducting important surveys. Let's dive in.
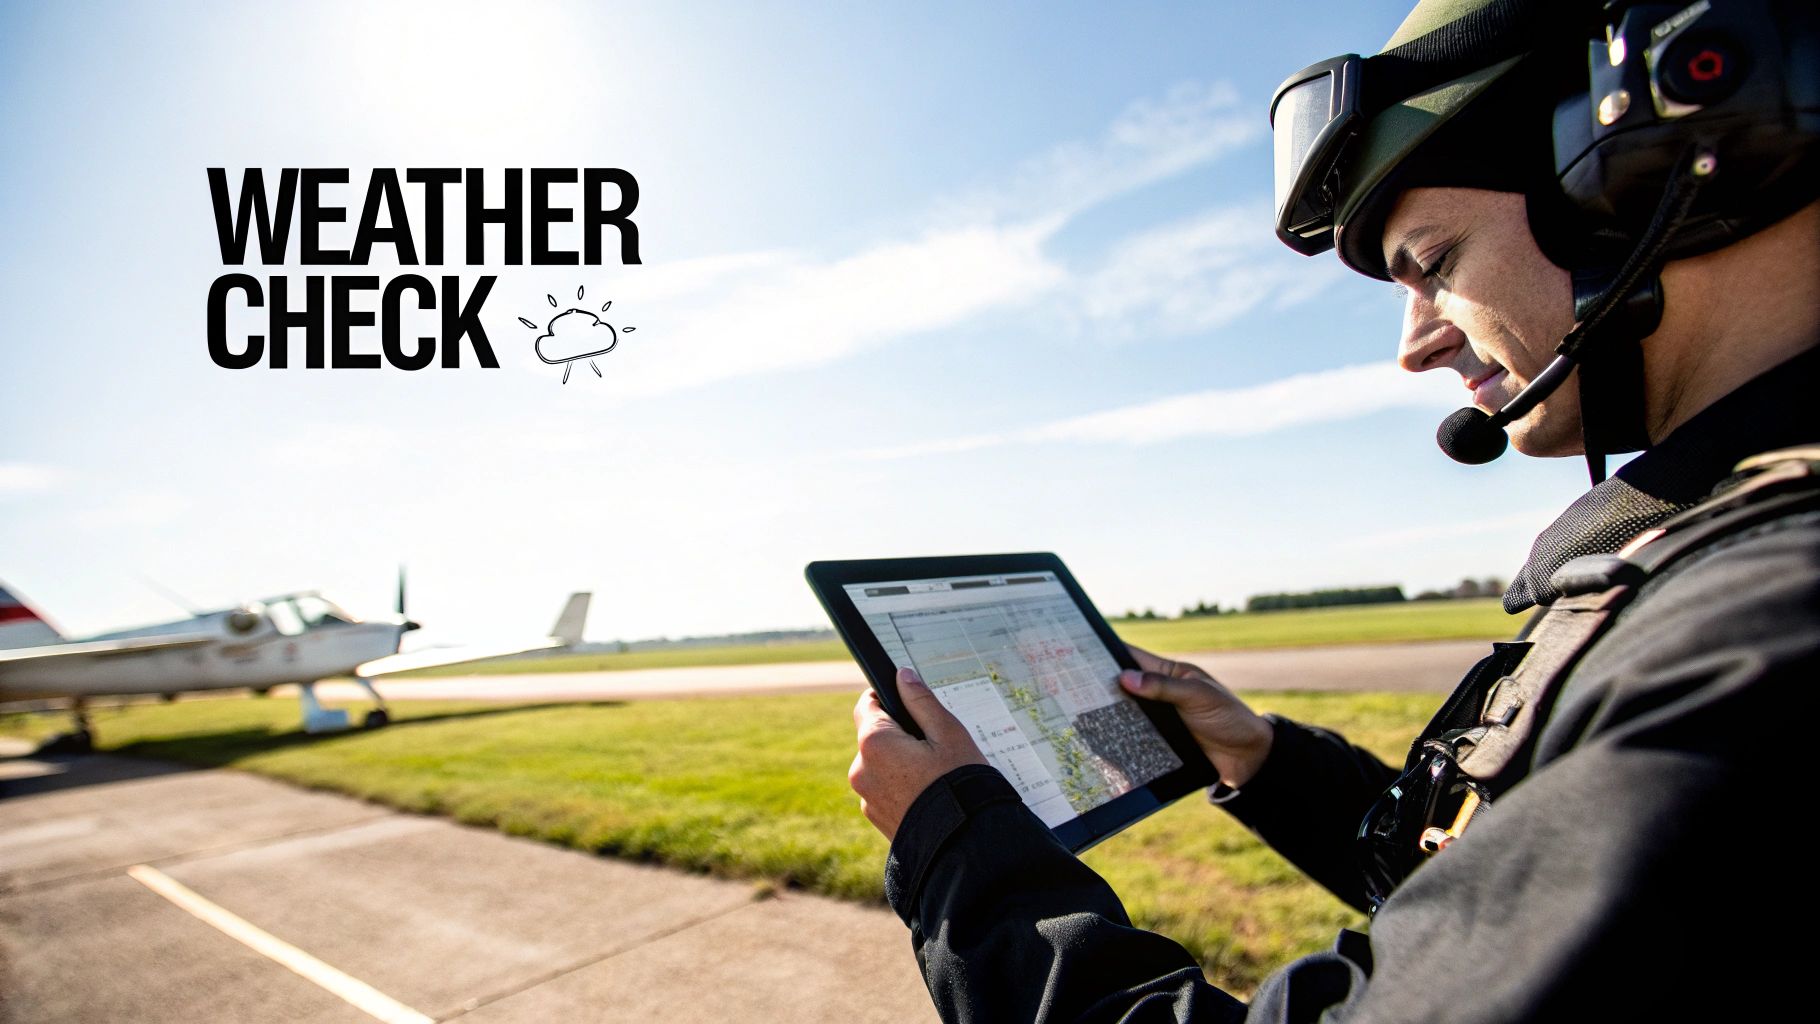
1. Check Weather Conditions
Before powering up your drone and venturing into the skies, a thorough weather check is the first and most crucial step in your drone preflight checklist. This involves more than just glancing out the window; it requires a detailed assessment of current and predicted weather conditions to ensure a safe and successful flight. Evaluating factors like temperature, wind speed, precipitation, visibility, and potential weather changes during your planned flight duration is paramount. This critical preflight check can prevent damage to your equipment, reduce the risk of crashes, ensure optimal battery performance, and dramatically improve the quality of your aerial photography and videography. Ignoring this step can lead to disastrous outcomes, putting your drone, and potentially others, at risk.
This preflight check involves several key features:
Wind Speed Assessment: Most drones have a maximum wind speed tolerance, typically between 15-20 mph, though this varies significantly between models. Exceeding this limit can lead to instability and loss of control.
Precipitation Check: Flying in rain, snow, or fog should be avoided. Moisture can damage electronic components and severely limit visibility.
Temperature Verification: Drones operate within a specific temperature range, typically between 32°F (0°C) and 104°F (40°C). Extreme temperatures can affect battery performance and overall drone functionality.
Visibility Assessment: Maintaining a minimum of 3 miles of visibility is recommended for safe drone operation. This allows you to maintain visual line of sight (VLOS) and react to potential hazards.
Weather Forecast Review: Checking the weather forecast for your entire planned flight duration is crucial, as conditions can change rapidly.
Pros:
Prevents damage to equipment from adverse weather conditions like rain, wind, or extreme temperatures.
Reduces the risk of crashes due to environmental factors, ensuring safer flights.
Ensures optimal battery performance, as extreme temperatures can significantly reduce battery life.
Improves video/photo quality by avoiding poor visibility conditions caused by fog, rain, or snow.
Cons:
Weather can change unpredictably during flight sessions, requiring constant monitoring.
Local microclimates may differ from general forecasts, necessitating on-site assessments.
Unfavorable weather can lead to canceled flights and frustrating rescheduling.
Examples of Successful Implementation:
DJI's GO 4 app provides real-time local weather information directly within the app interface, making it easily accessible during preflight checks.
UAV Forecast is a specialized app that analyzes weather data relevant to drone flight, determining if conditions are suitable for safe operation.
Commercial drone operators often meticulously document weather checks as part of their preflight operation logs, ensuring compliance with regulations.
Actionable Tips:
Utilize specialized drone weather apps like UAV Forecast or Kittyhawk for detailed and drone-specific weather information.
Cross-reference multiple weather sources to ensure data consistency and accuracy.
Set personal operational limits that are more conservative than the manufacturer's recommendations, providing an additional safety margin.
Consider altitude-related weather changes, as wind speed and temperature can vary significantly at higher altitudes.
Why this item deserves its place on the list: Checking weather conditions is the cornerstone of safe and successful drone operations. It's a fundamental step popularized by FAA drone safety guidelines, commercial drone operator protocols, and manufacturer flight recommendations (like those from DJI). By prioritizing weather assessment in your drone preflight checklist, you mitigate risks, protect your investment, and ensure optimal flight performance.
2. Battery Inspection
Battery inspection is a crucial step in any drone preflight checklist. This comprehensive examination ensures your drone and controller batteries are ready for a safe and successful flight. It involves more than just glancing at the battery indicator; it requires a thorough assessment of their physical condition and charge capacity to mitigate the risk of mid-flight power failures and potential hazards. This step is essential for maximizing battery lifespan and ensuring you have enough power to complete your mission.
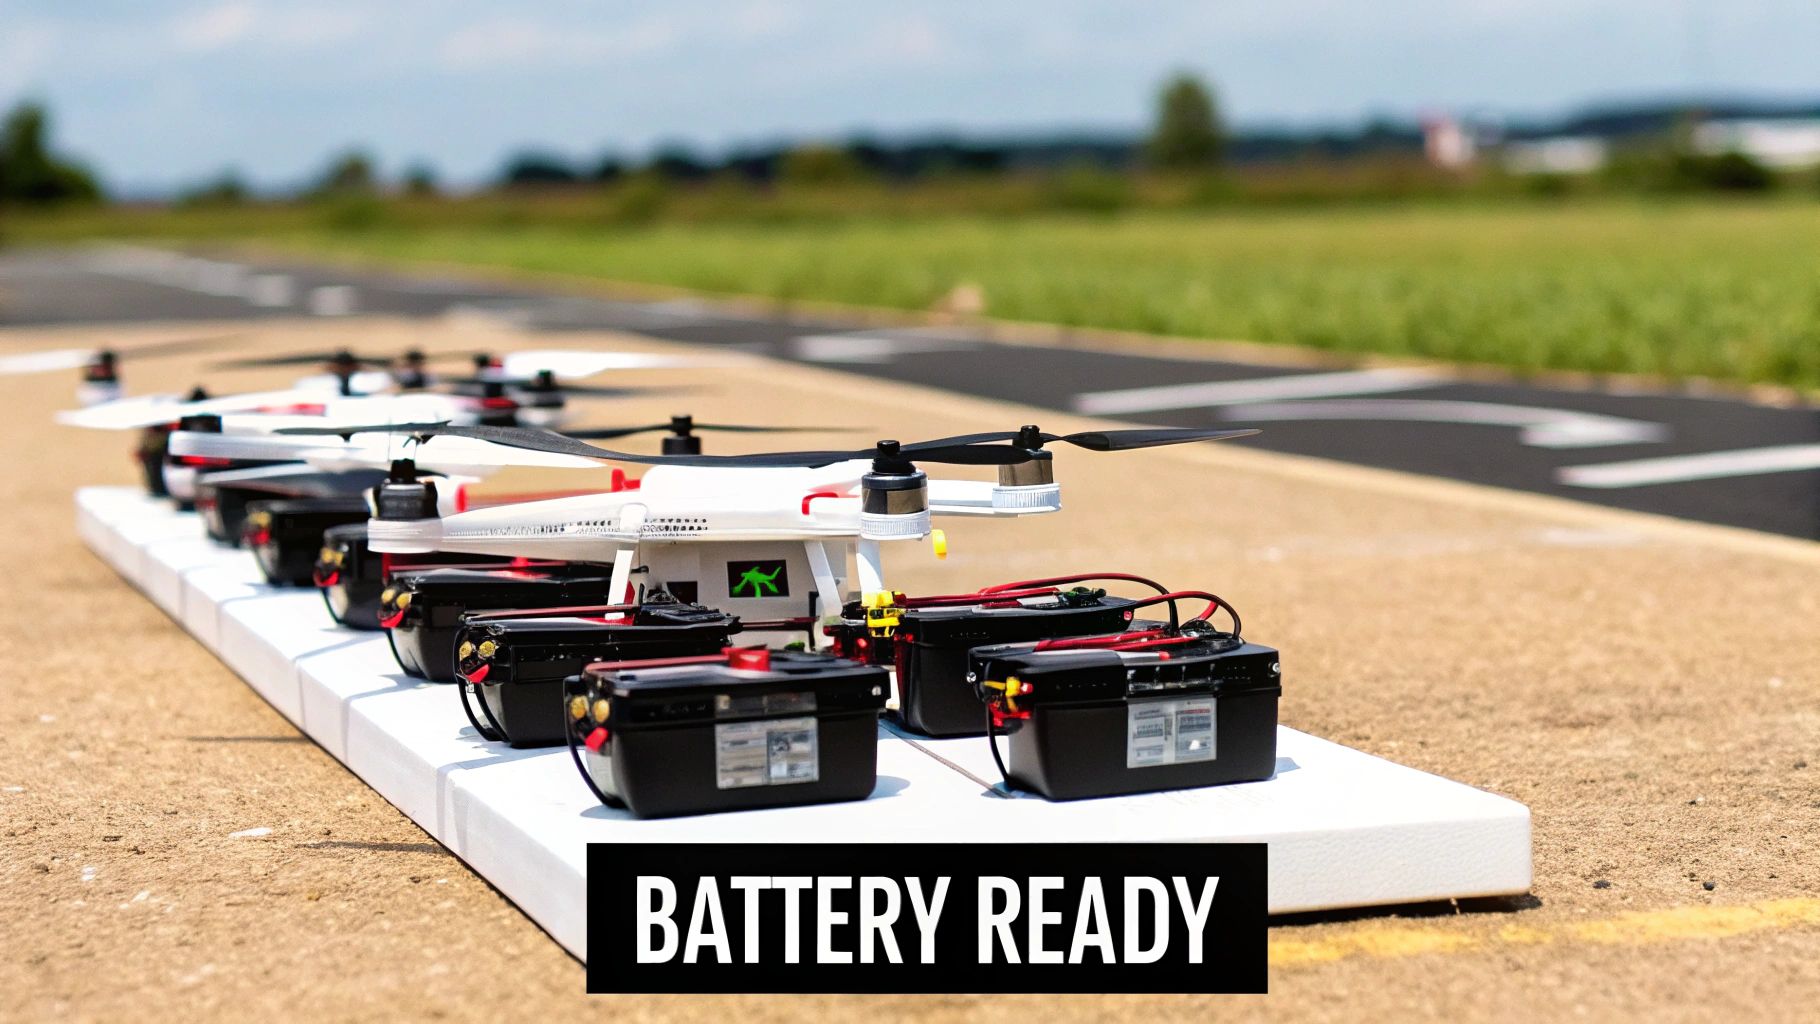
A proper battery inspection involves several key checks: verifying the charge level (aim for a minimum of 3.8V per cell), physically examining the battery for any signs of swelling, cracks, or damage, and checking the battery's temperature. For longer flights, or if you're using a power-hungry drone, having extra fuel on hand is a must. Similarly, ensuring your drone has ample power is critical. For those operating drones that use traditional fuel, having the right gas can can make refueling your drone much easier and safer. For a spill-free and efficient experience, consider using quick fill gas cans. Back to batteries, it’s also good practice to track the battery's age and cycle count to monitor its overall health and predict potential performance degradation. Finally, always ensure the battery is securely mounted in both the drone and the controller. Learn more about Battery Inspection
Examples of successful battery management: DJI's Intelligent Flight Batteries provide detailed information about charge percentages and individual cell health, making inspection easier and more precise. Many commercial drone operations adhere to a minimum 30% battery reserve rule to account for unforeseen circumstances. Autel Robotics also offers a Smart Battery system with real-time diagnostics.
Why this is essential for your drone preflight checklist: Neglecting battery inspection can lead to disastrous consequences, from a simple aborted mission due to low power to critical in-flight failures and potential crashes. A thorough inspection minimizes these risks and contributes to responsible drone operation.
Pros:
Prevents mid-flight power failures.
Extends overall battery lifespan.
Reduces the risk of fire or other battery-related incidents.
Ensures sufficient power for the planned flight plus a reserve.
Cons:
Battery status indicators can sometimes be inaccurate.
Cold temperatures can significantly reduce battery performance.
Maintaining multiple batteries for extended operations can be costly.
Tips for Effective Battery Management:
Always carry spare batteries charged to 50-60% for storage and transport.
Plan your flights with a 25-30% battery reserve minimum.
Store batteries at a 50-60% charge level when not in use to prolong their lifespan.
Allow batteries to cool down before charging them after a flight.
Maintain battery logs to track cycle counts and monitor for performance degradation.
By prioritizing battery inspection as part of your drone preflight checklist, you are taking a proactive step towards safer and more successful flights. This crucial step, popularized by leading manufacturers like DJI and reinforced by aviation authorities like the FAA and CAA, and drone pilot training programs, is a cornerstone of responsible drone operation.
3. Airspace and Regulatory Compliance
A critical component of any drone preflight checklist is verifying that your intended flight location is legal and complies with all applicable airspace restrictions and regulations. This step, Airspace and Regulatory Compliance, ensures the safety of other aircraft and prevents potential legal violations and hefty fines. Skipping this crucial check could land you in serious trouble, jeopardizing your flying privileges and potentially incurring significant financial penalties. Learn more about Airspace and Regulatory Compliance This is why it deserves a prominent place on your drone preflight checklist.
This process involves several key aspects:
Airspace classification verification: Determine the airspace class of your planned flight area. Different classes have different restrictions, from Class G (generally unrestricted) to Class B (surrounding major airports, requiring explicit authorization).
Proximity to airports and heliports: Even if not within controlled airspace, maintain a safe distance from airports and heliports. Many apps and websites can help you determine these distances.
LAANC authorization (when required): In the US, the Low Altitude Authorization and Notification Capability (LAANC) system provides near-real-time authorizations for flights in controlled airspace near airports.
TFR (Temporary Flight Restriction) checks: TFRs are implemented for various reasons, such as VIP movement, emergencies, or large public events. Check for active TFRs before every flight as they can pop up with little notice.
Local drone regulations and ordinances review: In addition to federal regulations, local governments may have their own specific rules regarding drone operations. Research and comply with these local ordinances.
Successful Implementation Examples:
Utilizing the B4UFLY app in the US to instantly view current airspace restrictions, TFRs, and proximity to airports.
Employing AirMap to obtain global airspace information and plan flights internationally.
Requesting and receiving LAANC authorization through authorized providers like AirMap or Kittyhawk for flights in controlled airspace near US airports.
Pros of Adhering to Airspace Regulations:
Prevents legal violations and potential fines: Following regulations protects you from legal repercussions and expensive fines.
Enhances airspace safety for all aircraft: Responsible drone operations contribute to the overall safety of the national airspace system.
Demonstrates professional responsibility: Compliance showcases your commitment to safe and responsible drone practices.
Documentation provides liability protection: Maintaining records of airspace checks and authorizations offers valuable legal protection in case of incidents.
Cons of Airspace Regulation Compliance:
Regulations vary by country and locality: Navigating differing regulations can be complex and require thorough research.
Authorization processes can be time-consuming: Obtaining necessary permissions, particularly for complex operations, can take time.
Airspace restrictions can change with little notice: TFRs and other restrictions can be implemented quickly, requiring frequent checks.
Some areas require extensive paperwork for approval: Certain operations may necessitate significant documentation and approvals.
Actionable Tips for Drone Pilots:
Check airspace status immediately before flight, not just during planning: Airspace conditions can change rapidly; verify just before takeoff.
Document all authorizations received: Keep records of LAANC authorizations, permits, and other approvals.
Register your drone with the appropriate aviation authority (FAA, CAA, etc.): Drone registration is mandatory in many countries.
Verify both federal and local regulations as they may differ: Ensure compliance with all applicable rules and ordinances.
Consider annual airspace subscription services for frequent flyers: For regular drone operations, these services can streamline airspace information access.
By diligently adhering to airspace and regulatory compliance procedures as part of your drone preflight checklist, you contribute to a safer airspace environment and avoid legal complications, allowing you to enjoy your flights responsibly and worry-free. Platforms like DJI's GEO system for airspace awareness, along with the prevalence of apps like B4UFLY and AirMap, and the establishment of regulations like Part 107 in the US, have made staying informed and compliant easier than ever before.
4. Physical Drone Inspection
A crucial step in any drone preflight checklist is the physical drone inspection. This involves a thorough examination of your drone's physical condition to identify any damage, loose components, or wear and tear that could negatively impact flight performance or, more importantly, safety. This inspection should cover every external part of your drone, from the frame and motors to the propellers, gimbal, and any attached sensors or cameras. Neglecting this step could lead to mid-flight malfunctions, crashes, and potential harm to people or property. A systematic physical inspection, performed before every flight, significantly reduces these risks and ensures a successful mission.
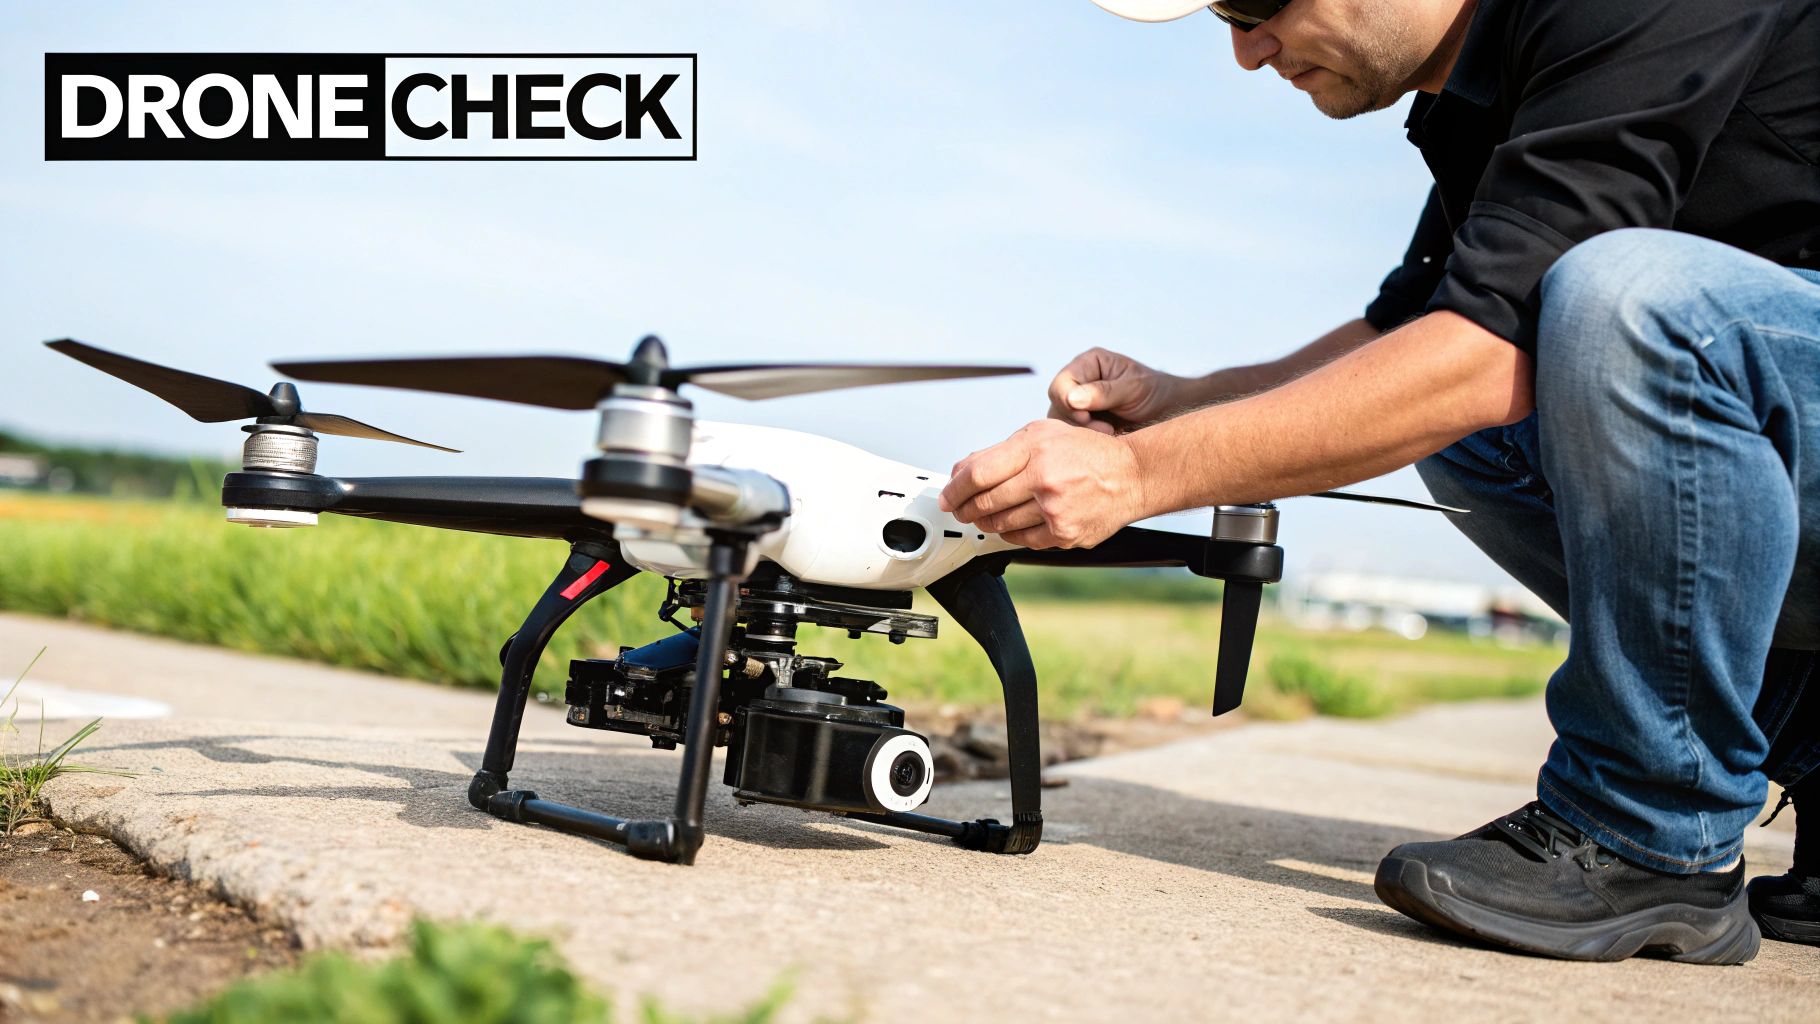
This inspection encompasses several key features:
Propeller Condition and Secure Attachment: Carefully examine each propeller for nicks, cracks, or bends. Even seemingly minor damage can affect flight stability. Ensure each propeller is securely attached to its motor shaft. A loose propeller can easily detach during flight, leading to a crash.
Motor Rotation Test and Sound Verification: Manually rotate each motor to check for smooth, unobstructed movement. Listen for any unusual grinding, scraping, or clicking sounds, which could indicate bearing wear or other internal issues.
Frame Integrity Inspection: Check the drone's frame for cracks, deformations, or loose joints. Pay particular attention to areas that have experienced previous crashes or hard landings. A compromised frame can significantly weaken the drone's structural integrity.
Gimbal Movement and Calibration Verification: Ensure the gimbal moves freely and smoothly through its full range of motion. Verify that the gimbal is properly calibrated to avoid skewed or shaky footage.
Camera/Sensor Cleanliness and Functionality: Clean the camera lens and any sensors with a microfiber cloth. Ensure the camera and sensors are functioning correctly.
Pros of Performing a Physical Drone Inspection:
Identifies Potential Mechanical Failures Before Flight: Catching a problem on the ground prevents a potentially disastrous mid-air failure.
Extends Equipment Lifespan: Early detection of wear and tear allows for timely maintenance and replacement of parts, extending the overall lifespan of your drone.
Ensures Optimal Camera/Sensor Performance: Clean lenses and properly functioning sensors ensure high-quality imagery and data capture.
Builds Systematic Safety Habits: Regularly performing these checks instills a safety-conscious mindset, essential for responsible drone operation.
Cons:
Can Be Time-Consuming: For larger or more complex drones, a thorough inspection can take some time.
Some Damage May Not Be Visually Apparent: Internal issues may not be detectable through visual inspection alone.
Requires Knowledge of Normal vs. Abnormal Component Appearance: You need to know what a healthy drone component looks and sounds like to identify potential problems.
Examples of Implementation:
DJI drones include preflight aircraft status indicators within their mobile app, providing a quick overview of system health.
Skydio drones perform autonomous pre-takeoff self-diagnostics, automatically checking critical systems before flight.
Commercial drone operators often use detailed preflight checklists that include component-by-component verification.
Tips for Effective Drone Preflight Inspections:
Create a Systematic Inspection Pattern: Develop a checklist and follow it consistently to avoid overlooking any components.
Carry a Small Tool Kit: Keep essential tools on hand for minor adjustments or tightening loose screws.
Take Reference Photos: Photograph your new drone from various angles. These photos will serve as a valuable reference for identifying changes or damage in the future.
Listen for Unusual Sounds During Motor Tests: Pay close attention to the sounds your motors make. Unusual noises are often early indicators of potential problems.
Check Propellers for Microscopic Cracks, Especially After Transport: Small cracks can propagate quickly during flight, so inspect propellers carefully, especially after transporting your drone.
This physical drone inspection deserves its place in the preflight checklist because it’s the primary way to ensure the mechanical soundness of your drone before takeoff. This proactive approach minimizes the risk of in-flight failures, protects your investment, and ensures a safe and successful flight. Incorporating this step into your drone preflight checklist is fundamental for all drone pilots, regardless of experience level.
5. Calibration Procedures
Calibration procedures are a critical part of any drone preflight checklist and are essential for safe and efficient flight. These procedures ensure accurate sensor readings and proper drone functionality, contributing directly to a stable and predictable flight experience. Skipping this step can lead to erratic behavior, inaccurate positioning, and potential crashes. By taking the time to calibrate your drone correctly, you’re maximizing both flight safety and the quality of your aerial footage or data capture.
Calibration involves adjusting the drone's internal sensors to match the current environment. This typically includes calibrating the compass, Inertial Measurement Unit (IMU), gimbal, and sometimes the vision positioning system. Each of these components plays a vital role in flight:
Compass: Provides directional orientation, crucial for navigation and the Return-to-Home (RTH) function.
IMU: Measures the drone's angular rate and acceleration, contributing to stability and control.
Gimbal: Stabilizes the camera for smooth, professional-looking footage.
Vision Positioning System: Uses downward-facing cameras and sensors to enhance stability, particularly at low altitudes. Horizontal and vertical sensor alignment contributes to accurate hovering.
Here's a breakdown of the process and its importance:
Why Calibrate?
Calibrating your drone is especially important when:
Flying in a new location.
After transporting your drone over long distances.
Experiencing drift or positioning errors.
After a crash or significant impact.
Benefits of Calibration:
Prevents erratic flight behavior: Accurate sensor readings translate to stable and predictable flight.
Ensures Return-to-Home function works correctly: A properly calibrated compass is essential for the RTH function to bring your drone back safely.
Improves stability and hover accuracy: Calibration allows for precise hovering and stable flight, crucial for capturing smooth footage and data.
Extends equipment lifespan: By ensuring proper function, calibration can contribute to the longevity of your drone’s components.
Potential Drawbacks:
Time-consuming: Performing all calibrations can take several minutes.
Environmental conditions: Some calibrations require specific conditions, such as level ground and minimal magnetic interference.
Multiple attempts: Occasionally, calibrations may need to be repeated to complete successfully.
Examples of Calibration in Practice:
DJI drones require compass calibration when flying more than 31 miles from the last calibration location.
Autel EVO drones feature an automated calibration verification system that streamlines the process.
Professional film crews using high-end drones typically perform gimbal calibration before each shoot to ensure optimal camera stability.
Tips for Successful Calibration:
Compass: Calibrate away from metal objects, power lines, and electronic devices that can cause magnetic interference.
IMU: Perform calibration on a level surface for accurate readings.
General: Recalibrate if you experience drift or positioning errors during flight. Follow the manufacturer's specific calibration patterns precisely, and allow the drone to warm up before calibrating in cold weather.
Importance in the Preflight Checklist:
Calibration procedures deserve a prominent place in the drone preflight checklist because they directly impact flight safety and performance. By ensuring your drone's sensors are providing accurate information, you're minimizing the risk of erratic flight, improving stability, and ensuring the reliability of essential features like Return-to-Home. Taking a few minutes to calibrate before each flight can save you from potential headaches and even prevent costly crashes. This proactive approach is essential for anyone operating a drone, from hobbyists to professionals.
6. Controller and Connection Setup
A critical part of any drone preflight checklist is the Controller and Connection Setup. This step ensures reliable communication between your drone and its remote controller, along with any other connected devices like smartphones or tablets. A solid connection is paramount for maintaining control, receiving telemetry data, and operating camera functions during flight. Skipping this step could lead to a disastrous loss of control or valuable data. This is why it's a vital part of any drone preflight checklist.
This process involves several checks to verify the integrity of your control system. It encompasses:
Controller Battery Level Verification: A low controller battery can unexpectedly terminate your flight, so always begin with a fully charged controller or have spares on hand.
Radio Link Signal Strength Test: Most drone systems display a signal strength indicator on the controller or in the connected app. Ensure you have a strong and stable signal before takeoff.
Control Stick and Button Functionality Check: Test all control sticks (yaw, pitch, roll, throttle) and buttons (camera control, return-to-home, etc.) to confirm they respond correctly. This prevents unexpected behavior in the air.
Mobile Device Connection and App Launch: If you're using a smartphone or tablet for FPV or advanced camera controls, ensure it's properly connected to the controller and the necessary app is launched and functioning.
Firmware Compatibility Verification: Outdated firmware in either the drone, controller, or connected devices can cause communication issues. Regularly update all components to their latest versions for optimal performance and compatibility.
Examples of Successful Implementation:
DJI's OcuSync and Lightbridge transmission technologies provide real-time signal strength indicators within the DJI Fly app, allowing pilots to monitor connection quality.
Skydio's smartphone direct control backup system offers a secondary control method if the main controller fails, enhancing flight safety.
Professional setups often involve dedicated monitor screens and signal boosters to maximize range and signal clarity, particularly for long-range operations.
Pros:
Prevents loss of control during flight
Ensures camera/accessory control functionality
Confirms real-time telemetry data transmission
Verifies emergency control functions like Return-to-Home
Cons:
Connection issues can be difficult to diagnose
Environmental factors (interference, obstacles) can unexpectedly affect signal strength
Multiple components (drone, controller, mobile device) create more potential failure points
Tips for a Robust Connection:
Test control responsiveness before takeoff while the drone is still on the ground. This allows you to identify any control issues in a safe environment.
Position antennas according to manufacturer recommendations for optimal signal transmission and reception.
Close unnecessary apps on connected mobile devices to free up resources and prevent interference.
Maintain visual line of sight even with a working FPV connection whenever possible. This provides an additional layer of safety and situational awareness.
Know how to operate the Return-to-Home (RTH) function in case of signal loss. Practice initiating RTH before your flight.
Popularized by advancements in drone communication technologies like DJI's OcuSync and Lightbridge, and further refined by RC system manufacturers like FrSky, a thorough controller and connection setup is now a standard part of any comprehensive drone preflight checklist. Ensuring a reliable connection is fundamental to a safe and successful flight.
7. Camera and Recording Setup
A critical part of any drone preflight checklist is the camera and recording setup. This step ensures that your drone's camera system is configured correctly and ready to capture the desired footage. Failing to properly check your camera and recording settings before takeoff can lead to missed shots, poor quality footage, or even complete data loss. This preflight check is essential for both hobbyists capturing casual footage and professionals working on critical projects.
This process involves several key features: verifying the SD card format and available space, adjusting camera parameters such as resolution, frame rate, and color profile, checking gimbal movement and stabilization, ensuring the lens is clean, and assessing the quality of the monitor/FPV feed. For example, DJI drones often include automated SD card checks before recording begins, a feature that has become increasingly popular among drone manufacturers. Higher-end cinema drones might integrate RED cameras, demanding even more rigorous camera setup procedures. Similarly, drones like those from Skydio incorporate obstacle avoidance cameras, which should also be checked during the preflight process as part of the overall camera system verification.
Pros:
Prevents lost recording opportunities: Addressing potential issues before flight saves you from the frustration of discovering technical problems mid-flight.
Ensures desired image quality: Setting the correct parameters guarantees your footage meets your specific requirements for resolution, frame rate, and color.
Avoids SD card errors: Confirming card compatibility and sufficient storage prevents data loss during critical moments.
Allows setting optimization: You can adjust settings based on lighting conditions and the type of footage you want to capture.
Cons:
Complex camera settings can be time-consuming: Navigating menus and adjusting various parameters can take time, especially for complex camera systems.
Storage requirements can be substantial: High-resolution recording requires significant storage space, necessitating large-capacity SD cards.
Monitor glare can hinder image quality assessment outdoors: Bright sunlight can make it challenging to accurately evaluate the image on the monitor or FPV feed.
Tips for a Successful Camera and Recording Setup:
Use high-speed SD cards rated for video recording: Ensure your SD cards can handle the data write speeds required for your chosen resolution and frame rate. Using cards not specifically designed for video recording can lead to dropped frames or corrupted files.
Format SD cards in the drone, not on a computer: Formatting in the drone ensures compatibility and avoids potential file system errors.
Take test shots to verify exposure and focus before the main flight: This allows you to fine-tune settings and avoid capturing unusable footage.
Use lens filters appropriate for the conditions (e.g., ND filters for bright days): Filters can improve image quality by controlling light and reducing glare.
Verify recording is actually working after takeoff: A quick check after takeoff provides final confirmation that everything is functioning as expected.
The emphasis on camera settings and image quality, popularized by companies like DJI and their collaboration with Hasselblad on high-end drone cameras, highlights the importance of this preflight step. Professional aerial cinematographers rely heavily on meticulously configuring their camera settings, reinforcing the necessity of this process within the drone preflight checklist. By incorporating these checks into your preflight routine, you can ensure that your drone captures the best possible footage every time.
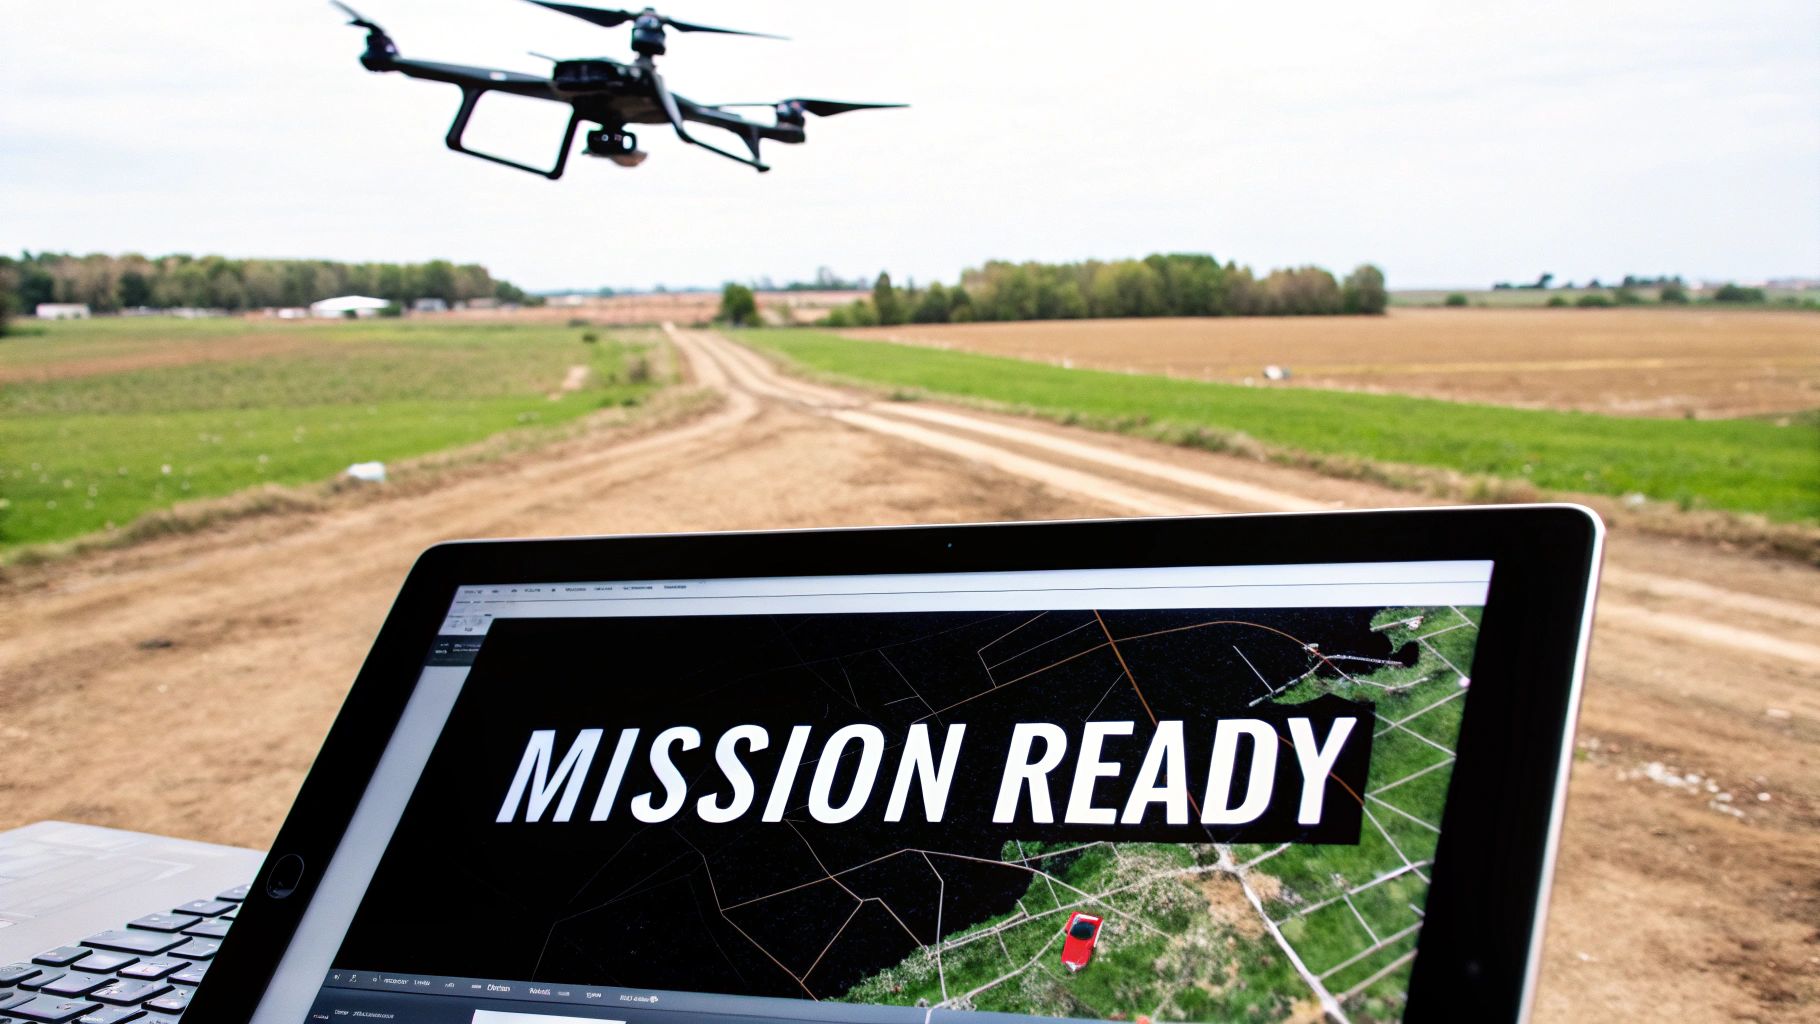
8. Flight Plan and Mission Parameters
A crucial step in any drone preflight checklist, especially for autonomous or complex flights, is defining your Flight Plan and Mission Parameters. This involves meticulously planning and programming the intended flight path, altitude, speed, and specific objectives before taking off. This pre-planning ensures a smooth, efficient, and safe flight, maximizing your chances of achieving the desired outcome. This is a critical part of any comprehensive drone preflight checklist.
For manual flights, this might involve visualizing the flight path and noting potential hazards. However, for autonomous flights using mission planning software, it becomes significantly more detailed. This includes setting waypoints, actions at each waypoint (like taking a photo or changing altitude), and configuring fail-safes in case of unexpected events. Learn more about Flight Plan and Mission Parameters
Features of Effective Flight Planning:
Flight Path Planning and Obstacle Identification: Mapping out the drone's route while taking into account potential obstacles like buildings, trees, and power lines. Some software allows for 3D mapping and obstacle avoidance.
Return-to-Home (RTH) Point Setting and Verification: Defining a safe return point and ensuring the drone has a strong GPS lock to utilize it effectively.
Maximum Altitude and Distance Limits Configuration: Setting boundaries for the flight to stay within legal limits and operational range.
Automated Task Programming: For specific missions like mapping, inspection, or cinematography, you can program the drone to execute predefined actions at different waypoints.
Fail-Safe Behavior Configuration: Defining how the drone should react in case of signal loss, low battery, or other emergencies. This might include automatically returning to home, landing in place, or hovering.
Pros of Pre-Planned Missions:
Increased Flight Efficiency and Battery Usage: Optimized flight paths minimize wasted energy, extending flight time.
Ensures All Required Areas/Subjects are Captured: Systematic flight plans guarantee complete coverage for mapping, inspection, or photography missions.
Provides Consistent Results for Repeated Missions: Pre-programmed flights provide repeatable data acquisition for tasks like monitoring crop health or construction progress.
Reduces Pilot Workload for Complex Flight Patterns: Automating complex maneuvers allows the pilot to focus on monitoring the flight and making adjustments as needed.
Cons of Pre-Planned Missions:
May Require Significant Pre-Planning Time: Developing complex missions can be time-consuming, especially for intricate flight patterns.
Can Reduce Adaptability to Changing Conditions: A pre-planned mission may not account for unexpected events like sudden wind gusts or newly appearing obstacles.
Complex Missions Have More Potential Failure Points: The more complex the mission, the higher the chance of software glitches or unforeseen issues.
Software Limitations May Restrict Certain Flight Patterns: Not all mission planning software supports every conceivable flight pattern or action.
Examples of Mission Planning Software:
DJI GS Pro: Powerful software for automated mapping missions and professional cinematography.
Pix4D Capture: Specifically designed for photogrammetry flight planning and 3D model creation.
Litchi: Offers versatile waypoint missions and follow-me functionality for consumer drones.
Tips for Successful Mission Planning:
Always set an appropriate Return-to-Home (RTH) altitude above obstacles. This ensures the drone can safely return in case of an emergency.
Verify GPS signal strength before launching automated missions. A strong GPS signal is crucial for accurate navigation and execution of the flight plan.
Include buffer zones around obstacles and restricted areas. This provides a safety margin in case of wind drift or GPS inaccuracies.
Plan for battery changes on longer missions. Estimate flight time and include waypoints for landing and swapping batteries.
Simulate mission execution before actual flight when possible. Many software platforms offer simulation capabilities to identify potential issues before takeoff.
Popularized by platforms like DroneDeploy for mapping and Pix4D for photogrammetry, mission planning has become an integral part of professional drone operations. Companies like DJI and Kespry also incorporate these tools into their commercial inspection software. Including flight plan and mission parameters in your drone preflight checklist enhances safety, efficiency, and the likelihood of mission success.
8-Step Drone Preflight Checklist Comparison
Checklist Step | Implementation Complexity 🔄 | Resource Requirements ⚡ | Expected Impact 📊 | Ideal Use Cases 💡 | Key Advantages ⭐ |
|---|---|---|---|---|---|
Check Weather Conditions | Medium | Low to Moderate (weather apps) | Enhances flight safety and performance by avoiding adverse conditions | Routine preflight when weather is variable | Prevents equipment damage and improves visual quality |
Battery Inspection | Low to Medium | Moderate (battery testers, logs) | Reduces risk of mid-flight power loss and extends battery lifespan | Regular preflight and maintenance checks | Prevents power failures and potential hazards |
Airspace and Regulatory Compliance | Medium to High | Moderate to High (apps, documentation) | Ensures legal flight operations and minimizes regulatory risks | Commercial and professional drone operations | Reduces legal issues and provides liability protection |
Physical Drone Inspection | Medium | Low (visual and simple tool kits) | Detects mechanical issues early to reduce in-flight failures | Preflight safety checks and routine maintenance | Improves equipment lifespan and overall flight safety |
Calibration Procedures | Medium to High | Moderate (environmental setup, time) | Enhances sensor accuracy and flight stability during operations | New locations, post-transport, or after updates | Ensures reliable sensor readings and consistent flight performance |
Controller and Connection Setup | Low to Medium | Low (smart devices, controller checks) | Confirms robust communication and control responsiveness | Environments with potential RF interference | Maintains control and minimizes risk of loss of signal during flight |
Camera and Recording Setup | Medium | Moderate (SD cards, camera settings) | Secures high-quality footage and prevents recording errors | Cinematography and media capture missions | Delivers professional-grade image quality and prevents media loss |
Flight Plan and Mission Parameters | High | High (mission planning software) | Optimizes flight efficiency and reduces pilot workload through automation | Automated mapping, inspection, or complex missions | Increases operational efficiency and ensures adherence to planned mission |
Ready for Takeoff: Mastering Your Drone Preflight Routine
By consistently following a comprehensive drone preflight checklist, you transform your pre-flight preparations into a streamlined and efficient process. From checking weather conditions and battery health to ensuring airspace compliance and calibrating your equipment, each item on the drone preflight checklist plays a vital role in safe and successful drone operations. Internalizing these habits, from physical drone inspection to controller setup and camera configuration, not only minimizes risks and protects your valuable equipment but also allows you to focus on what matters most: capturing breathtaking aerial footage, gathering crucial data, or achieving your specific mission objectives. Remember, a thorough drone preflight checklist is your key to unlocking the full potential of your drone while prioritizing safety and responsibility.
Mastering these preflight procedures translates to more than just ticking boxes; it cultivates a mindset of preparedness and professionalism. This meticulous approach reduces the likelihood of encountering unexpected issues mid-flight, saving you valuable time, resources, and potential headaches. Ultimately, adhering to a robust drone preflight checklist empowers you to fly with confidence, knowing you’ve taken all necessary precautions to ensure a safe and successful flight.
Want to stay up-to-date on the latest drone technology and best practices to enhance your preflight routine? Visit JAB Drone for in-depth reviews, informative articles, and valuable resources to help you maximize your drone operations. JAB Drone provides the knowledge and tools you need to refine your drone preflight checklist and elevate your skills to the next level.
Article created using [Outrank](https://outrank.so)
Comments